
Why Is Tarring a Chimney Not a Long-Term Fix for Roof Leaks?
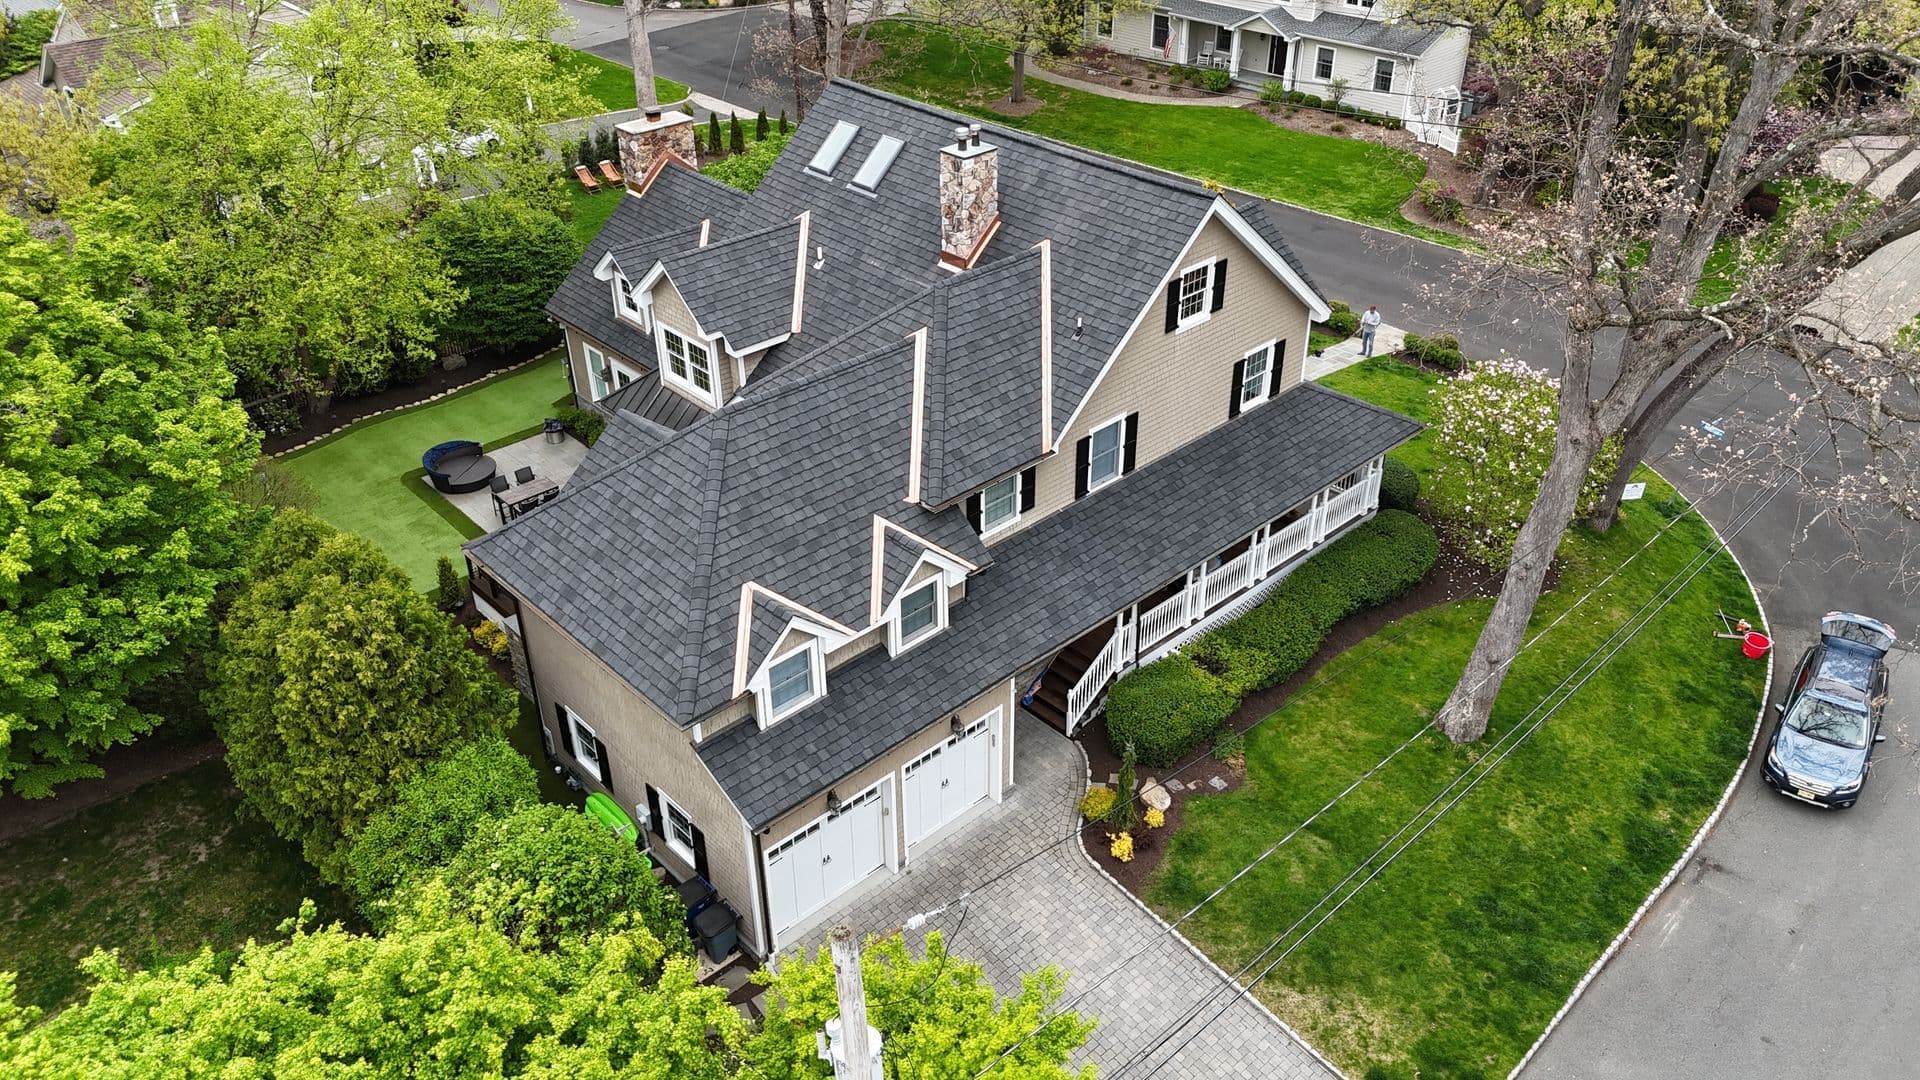
During roof inspections on older homes throughout Bergen County, one recurring issue appears again and again: chimneys that have been “fixed” with tar. At first glance, the chimney may look sealed and protected, but closer inspection often reveals cracking, separation, and active moisture intrusion.
Homeowners are frequently told that chimney tar is a solution. In reality, it is usually a temporary patch applied after a flashing failure, not a durable repair.
This article explains why chimney tar fails, what it’s hiding, and what a proper chimney flashing repair actually involves.
Why Do Chimneys Commonly Leak at the Roofline?
Chimneys are one of the most complex penetration points on a roof. They intersect multiple materials and systems at once:
Roofing shingles
Underlayment
Step flashing
Counterflashing
Brick and mortar
When any one of these components fails—or when they were never installed correctly—water finds a path in.
Over time, mortar joints crack, flashing corrodes or pulls away, and movement between the chimney and roof structure creates gaps that allow water intrusion.
What Is Chimney Tarring, and Why Do Contractors Use It?
Chimney tarring involves applying roofing cement or tar directly over brick, mortar joints, and flashing in an attempt to block water entry.
As Erik Mattsson explains during inspections, “Tar is a band-aid solution.”
Contractors often use tar because:
It is fast
It is inexpensive
It temporarily stops visible leaking
It avoids masonry or flashing work
For a homeowner in distress due to an active leak, tar can appear to “solve” the problem—at least initially.
Why Does Tar Seem to Work at First?
Fresh tar hardens and sheds water. When newly applied, it can seal small cracks and gaps well enough to redirect water away from interior spaces.
This short-term success is why chimney tar persists as a common practice.
The problem is not what tar does on day one.
The problem is what happens next.
How Does Chimney Tar Fail Over Time?
Tar is not designed to be a permanent exterior masonry solution.
As it ages:
It becomes brittle
It cracks
It separates from brick and mortar
UV exposure accelerates degradation
Freeze–thaw cycles widen gaps
During inspections, it is common to see pinholes, fractures, and peeling sections forming across tarred areas—clear indicators that water can once again enter the system.
Erik summarizes the core issue clearly: “Tarring a chimney is not a long-term fix.”
Why Is Tar Often Applied Over Failed Flashing?
In many cases, tar is not the original problem—it is the reaction to one.
If tar has been applied to a chimney:
The flashing underneath likely failed
Water was entering at the roof-to-chimney transition
Instead of addressing flashing, tar was applied on top
This is especially unfortunate when the chimney originally had copper flashing. Copper develops a natural patina over time and can last decades when installed correctly.
Covering copper with tar not only compromises performance but also eliminates the advantages of the material.
What Happens When the Tar Starts Cracking?
Once tar cracks or pulls away, water does not stop trying to get in.
Instead:
Water finds the same original entry points
Moisture travels behind the tar
Leaks resume—often worse than before
Damage spreads unseen behind the chimney and roof structure
At this stage, homeowners often experience repeated interior leaks despite “repairs” having already been paid for.
Why Doesn’t Re-Tarring Solve the Problem?
Re-tarring only repeats the cycle.
Each additional layer:
Adds rigidity
Cracks faster
Traps moisture
Makes proper repair more difficult later
Tar does not address the root cause of chimney leaks: failed or improperly integrated flashing.
What Is the Correct Way to Repair a Leaking Chimney?
A permanent chimney repair focuses on flashing—not surface coatings.
The proper process includes:
Removing existing compromised flashing
Cutting a reglet—a precise, shallow incision into the brick and mortar joint
Installing new metal counterflashing (typically copper or aluminum)
Embedding the flashing into the reglet
Bending the metal down the chimney face
Integrating flashing properly with the roofing system
This method allows the flashing to become mechanically integrated with the chimney, not merely adhered to it.
What Is a Reglet, and Why Does It Matter?
A reglet is a narrow cut—usually about half an inch—made into a mortar joint above the roofline.
By inserting flashing into this cut:
Gravity works in your favor
Water sheds naturally over the flashing
Sealants become secondary, not primary
Movement between materials is accommodated
This approach creates a system where the chimney and flashing work together, rather than fighting each other.
Why Is Proper Flashing Considered a “System-Level” Fix?
Roof leaks are rarely caused by a single failed product. They occur when systems stop working together.
Chimney flashing must integrate:
Roof underlayment
Step flashing
Counterflashing
Masonry joints
This is why companies like Mattsson Roofing treat chimney repairs as part of the overall roofing system—not as isolated patches.
When Is Chimney Tarring Ever Acceptable?
Chimney tar has a limited, specific use case.
It may be acceptable when:
A homeowner needs a short-term solution
Interior damage must be temporarily controlled
A full repair is planned soon
As Erik notes during inspections, tar can buy time—but not certainty.
If the goal is six months, maybe a year, tar can serve as a stopgap. Beyond that, it often leaves homeowners “paying twice” for the same problem.
What Are the Long-Term Risks of Ignoring Proper Chimney Repairs?
Delaying proper chimney flashing repairs can lead to:
Ongoing interior leaks
Roof deck deterioration
Mold development
Brick and mortar decay
Increased repair costs later
What begins as a flashing issue can evolve into a structural and interior remediation problem.
How Can I Schedule a Roofing Inspection?
For homeowners in Bergen County and surrounding areas looking for peace of mind with their roof, Mattsson Roofing is here to help. Our inspections focus on understanding the entire roofing system—not just spotting surface issues.
Contact Us
Mon-Fri: 7:30am - 5pm
Sat: Appointment Only
Sun: Closed