
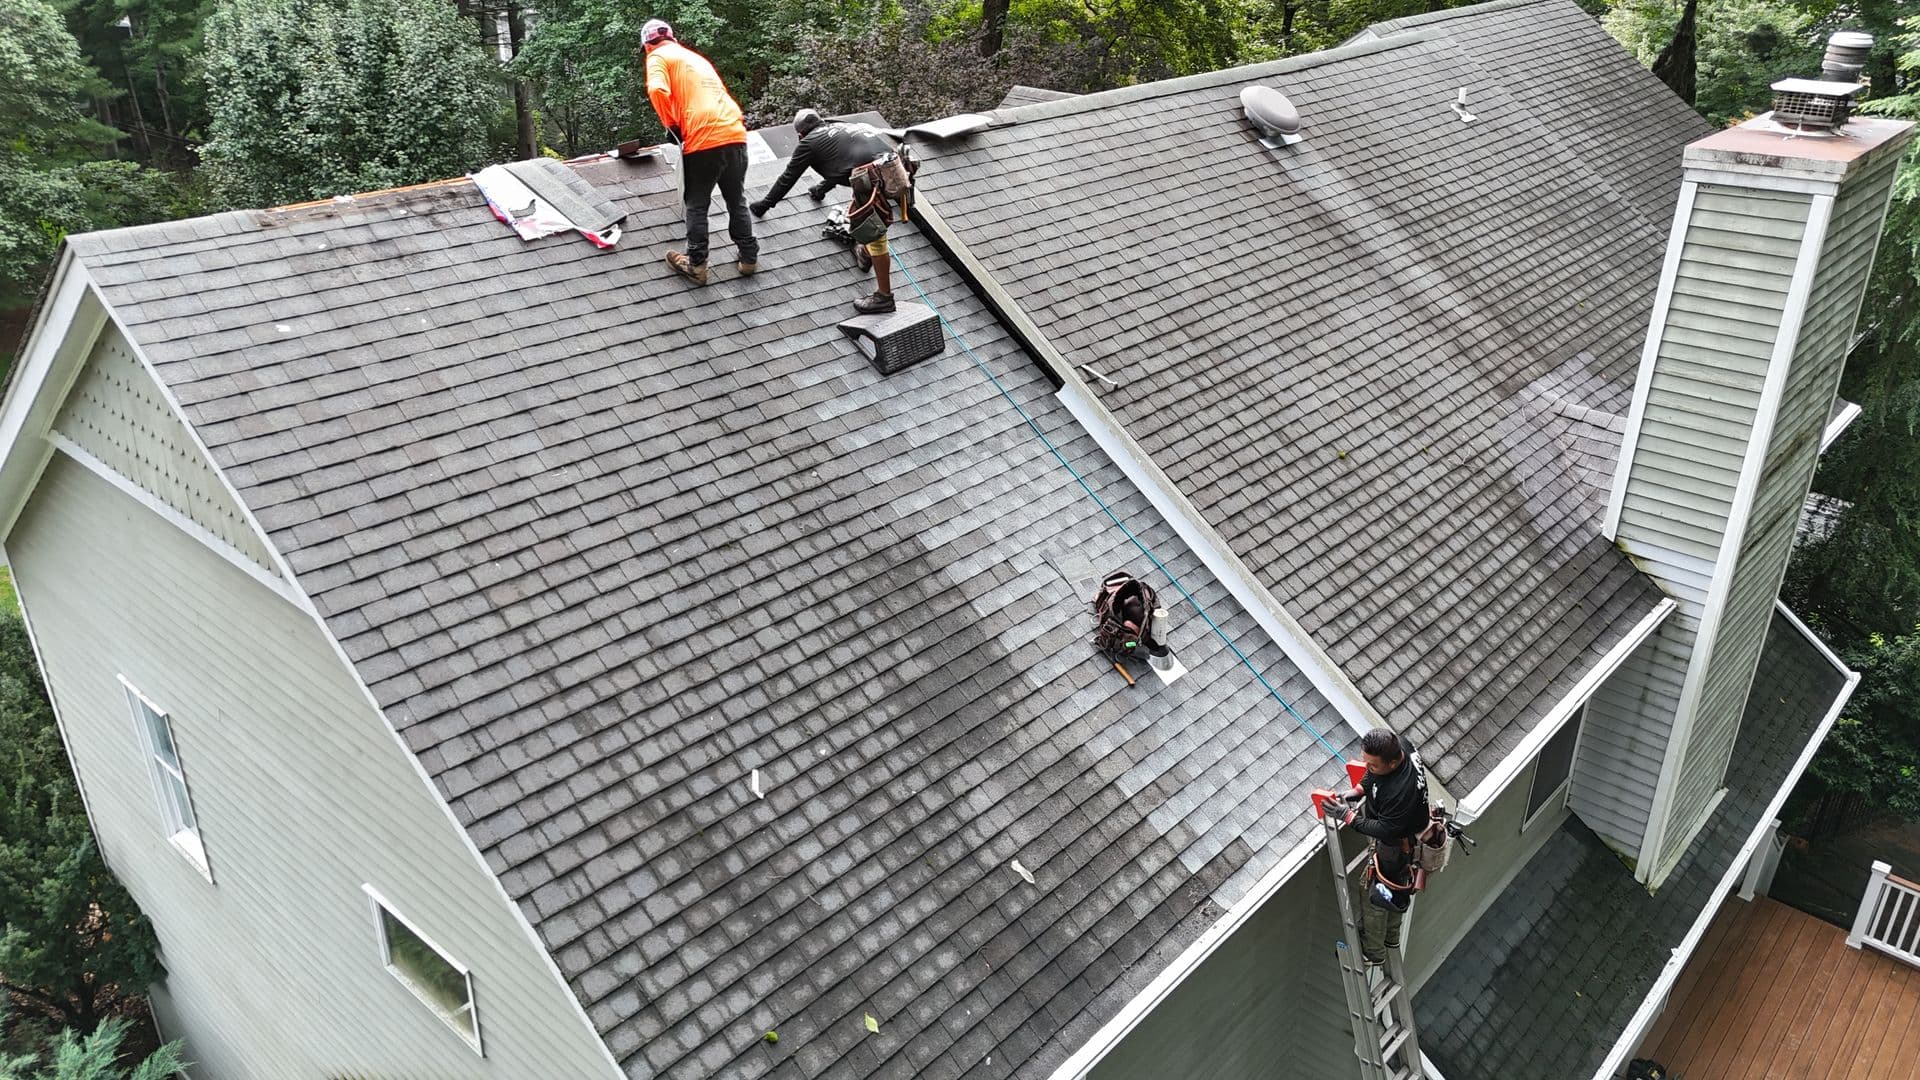
Why Do Roof Leaks Start Around Chimneys, Skylights, and Flashing?
When a roof starts leaking around a chimney, skylight, vent, or other opening, the stain inside the house doesn’t always point to the actual source. These areas are vulnerable because they interrupt the roof's continuous surface. Each opening creates a transition where shingles, flashing, and underlayment need to work together to direct water away from the opening and back onto the roof.
When one part of that system fails, water can get beneath the roofing materials and travel along the roof deck or framing before it becomes visible inside the home. A ceiling stain shows where water ended up, not where it entered. Erik Mattsson, founder of Mattsson Roofing, has documented this during inspections, including leaks where water entered higher on the roof and traveled before appearing in the living space.
In Bergen and Passaic Counties, rain, snow, ice, and freeze-thaw cycles add stress to these areas. Around chimneys in particular, water can collect behind the chimney instead of continuing down the roof.
A lasting fix starts with finding where water is entering and which layer of the roofing system has failed.
Get Your Free Estimate
What Are the Most Common Causes of Roof Leaks Around Chimneys, Skylights, and Flashing?
Most leaks in these areas come down to installation problems, aging materials, or both.
Common causes include:
Flashing that was installed incorrectly or does not integrate properly with the surrounding roofing
Metal flashing that has corroded, shifted, or pulled away
Sealants and rubber components that have cracked or deteriorated
Shingles that no longer overlap or integrate correctly with the flashing
Underlayment or waterproofing that does not extend far enough around the penetrations
Exposed or loosened fasteners that create a path for water
Previous repairs that covered the visible problem without correcting the underlying source of the leak
One Mattsson inspection showed exactly why these details matter. After removing the roofing around a leaking roof-to-wall intersection, Erik found that the existing underlayment stopped short of the flashing. Water that got behind the flashing had no waterproof membrane beneath it to redirect it back onto the roof, and the roof decking underneath had rotted.
As Seen on YouTube: Leaky Roof? Here’s Why Flashing Matters!
Why Do Chimneys Leak So Often?
A chimney creates multiple transition points where the roof meets a vertical masonry surface. Water must be directed around the chimney while keeping each intersection watertight. That makes the flashing details especially important.
A typical chimney flashing system can include:
Step Flashing: Individual metal pieces woven between shingle courses along the chimney sides
Counter Flashing: Metal that overlaps the step flashing and helps prevent water from getting behind it.
Chimney Cricket: A small peaked structure installed on the uphill side of some chimneys to divide water flow and direct it around the chimney instead of letting it collect behind it.
The way water moves around the chimney matters too. Erik has documented chimneys where water was collecting on the uphill side instead of being redirected around it. His explanation of the purpose of a cricket is simple:
“A cricket breaks up the flow of water... instead of running down and sitting behind the chimney, it’s going to be diverted to the side, run to the gutters.” - Erik Mattsson
Is Roofing Tar Around a Chimney a Permanent Repair?
No. Roofing tar and exterior sealant can stop water temporarily, but they sit on the surface. If the chimney flashing underneath has failed, applying material over it doesn't fix the flashing system.
Erik Mattsson frequently sees this on older roofs with a history of chimney leaks. A contractor applies tar around the chimney, the leak stops for a while, and then the tar hardens, cracks, and deteriorates. Once openings develop in that temporary patch, water reaches the original failure again.
As Erik explains:
"Tar is a Band-Aid solution... Tarring a chimney is not a long-term fix."
When the flashing itself has failed, the lasting correction is to remove the existing flashing and rebuild the detail. Mattsson Roofing does this by cutting a reglet, a narrow groove, into the chimney masonry and inserting new copper or aluminum counter flashing into it, so the flashing integrates directly with the chimney instead of depending on surface-applied sealant.
Our guide to why chimney tar is not a long-term fix explains why these repairs often fail again.
Why Do Skylights Develop Roof Leaks?
A leaking skylight is easy to blame on the skylight itself, but the surrounding roofing system may be the real problem. A skylight sits inside an opening in the roof deck. Flashing and underlayment are installed around that opening to direct water away.
If those materials are damaged, improperly layered, or disturbed during previous roofing work, water can get beneath the surrounding shingles and enter around the opening. Older skylights may also have aging seals, deteriorated flashing, or roofing materials around them that have reached the end of their service life.
One clue is where the water staining appears. Staining contained within the skylight well can indicate a problem with the skylight unit or glass itself. Staining around the outside perimeter of the well, where the ceiling meets the skylight opening, can point toward a problem at the roof-to-skylight intersection. These are diagnostic clues rather than absolute rules, but they can help determine where the inspection should focus.
“If there is an issue with where the roof is meeting the skylight, that will show up... where the ceiling comes in and turns into the window well.” -Erik Mattsson.
Modern systems, including Velux skylights, use coordinated flashing kits designed to work with the roofing materials as one system. Our article on understanding skylight failures explains where problems can develop.
Should a Leaking Skylight Be Repaired or Replaced?
That depends on the skylight's age and condition and what's causing the leak.
Mattsson Roofing evaluates the skylight and the surrounding roofing system before determining the appropriate solution. Depending on the skylight's age, we usually recommend replacement rather than repairing an older unit.
This is because a skylight works as part of a larger waterproofing system. The skylight unit, flashing, underlayment, shingles, and surrounding roof opening all need to work together. A leak can come from the skylight itself, the roof-to-skylight connection, or both. In fact, Mattsson has encountered skylights where both conditions were present at the same time.
When an older skylight is replaced, the new unit can be installed with new flashing and new waterproofing materials integrated with the surrounding roofing system. This lets you address the entire assembly together instead of repairing one component while still relying on other aging materials.
Mattsson Roofing's skylight services can evaluate the skylight and surrounding roof to determine the best approach.
What Does Flashing Actually Do on a Roof?
Flashing is thin metal installed at vulnerable transition points where the roof meets another surface or where something penetrates the roofing system.
You will commonly find it around:
Chimneys
Skylights
Plumbing vents and pipe penetrations
Roof-to-wall intersections
Valleys
Other roof penetrations
Its job is to move water away from seams and joints that would otherwise be vulnerable. Flashing doesn’t work by simply covering a gap. It needs to integrate with the shingles and waterproofing beneath it so water is directed away from vulnerable areas and continues safely down the roof.
That is why proper flashing is about more than the piece of metal you can see. The flashing, shingles, and waterproofing beneath them need to function together as a system. Learn more in our guide to protrusions and flashing roof leaks.
Why Does Roof Flashing Fail?
Flashing can fail even when the shingles around it still look normal from the ground. Failure can happen in one of three places: the flashing metal itself, how it was installed, or the shingles, underlayment, and sealant that are supposed to work with it.
Common problems include:
Nails or fasteners placed where water can reach them
Metal flashing that does not overlap or integrate correctly
Flashing that has lifted, shifted, or pulled away
Corrosion after years of exposure
Sealant that has cracked or separated
Shingles installed incorrectly around flashing edges
Underlayment or waterproofing that does not extend far enough around the flashing
Rubber collars around plumbing vents that have deteriorated with age
Material matters, but installation and integration matter just as much. Aluminum is commonly used because it is lightweight and durable when installed correctly. Copper is often used on higher-end roofing systems, historic homes, and areas where long-term durability is a priority. Whatever the material, the flashing needs to work with the rest of the roofing system.
Can Flashing Fail Before the Rest of the Roof?
Yes. A roof can still look intact while flashing around chimneys, skylights, or other penetrations has already started to fail. Previous repairs can also hide an underlying flashing problem. Tar, caulk, or other patchwork may temporarily stop water without correcting the actual flashing failure.
That is why roof age is only one part of the diagnosis. A relatively young roof can still have failing flashing, so each transition point needs its own evaluation.
What Does Proper Chimney or Skylight Flashing Installation Look Like?
A proper flashing installation relies on overlapping layers, not just surface sealant. Around a chimney, step flashing should weave between shingle courses, while counter flashing set into the masonry overlaps it from above.
Around a skylight, the flashing should integrate with the surrounding shingles and waterproofing so water is directed away from the opening and continues safely down the roof.
Sealant can support certain details, but it should not be the primary waterproofing system. If an installation depends heavily on exposed caulk, tar, or roofing cement to keep water out, the underlying flashing system may not be properly integrated.
Why Is Finding the Real Leak Source So Important?
Because water rarely travels in a perfectly straight line once it gets beneath roofing materials. It can run along roof decking, rafters, nails, or framing before dripping into the attic or ceiling, so the indoor stain often appears well away from the actual entry point. Fixing the area directly above the stain treats the symptom, not the source.
Mattsson Roofing encountered this on a relatively young roof where previous repairs had already been made near an interior leak. During the inspection, Erik went into the attic and traced the water staining back to a different location on the roof. After transferring those measurements to the exterior, he lifted the shingle and found the actual source: a hidden nail pop.
As Erik explains:
“You have to be creative. You have to be investigative. You have to be thorough.”
A proper leak inspection around a chimney or skylight checks:
Flashing condition and overlap
How the shingles integrate with the flashing
Underlayment and waterproofing
Sealant
Roof decking
Nearby penetrations
Signs of previous repairs
Water staining inside the attic
Every Mattsson Roofing estimate includes photos, so homeowners can see the condition of the flashing and surrounding roof for themselves. Without that broader evaluation, it is easy to repair the area where the leak appears instead of the area where the water is actually entering.
Our guide on how to trace and fix roof leaks walks through the diagnostic process in more detail.
What Factors Affect the Cost of Chimney or Skylight Flashing Repair?
No single price applies to every flashing repair. A small, localized repair is very different from replacing an entire chimney flashing system or replacing a skylight along with its flashing and surrounding waterproofing.
Cost depends on factors such as:
Chimney or skylight size
Roof pitch and accessibility
Flashing material, such as copper or aluminum
Condition of the surrounding shingles
Damage to the roof decking
Extent of the affected roofing area
Whether previous repairs, tar, or sealant need to be removed
Whether surrounding roofing components need to be removed and reinstalled to properly integrate the new flashing
For example, Erik has documented repairs where correcting a flashing problem required removing shingles several feet from the affected area, replacing damaged decking, installing new ice and water shield, and integrating that waterproofing behind the new flashing.
The most useful estimate starts with identifying the source of the leak and understanding how much of the surrounding system is affected. Completing chimney or skylight work during a roof replacement is more cost-efficient because it eliminates duplicated labor. Mattsson Roofing also offers roof financing options for qualified homeowners.
What Should You Remember About Chimney, Skylight, and Flashing Leaks?
The main points are straightforward:
Chimneys, skylights, and other roof penetrations interrupt the roof's continuous surface, creating transition points where leaks develop.
Flashing, shingles, and underlayment must overlap to direct water around those joints and back onto the roof.
Flashing fails in one of three places: the metal itself, the installation, or the surrounding materials.
Tar and caulk may cover a leak temporarily without fixing the problem underneath
A ceiling stain does not always appear directly below where water entered
Repair or replacement decisions should be based on where the water is entering, what has failed, and the condition of the surrounding roofing system.
For more information about common roofing problems, visit our Roofing Tips and Insights for Homeowners.
You may also find these guides helpful:
Get a Clear Answer About Your Roof Leak
If you see water near your chimney, skylight, or other roof opening, the visible stain is only the starting point.
Mattsson Roofing works with homeowners throughout Bergen and Passaic Counties, including Glen Rock, Ridgewood, Fair Lawn, Ho-Ho-Kus, and Teaneck, to trace leaks back to their source. We inspect the flashing, shingles, underlayment, and surrounding areas so you understand what failed and what the lasting correction is.
That may mean a targeted repair, new flashing, skylight replacement, or a broader roofing solution depending on what the inspection reveals. If you’re seeing water stains or signs of a roof leak, request a free roof estimate to have the area evaluated.
Frequently Asked Questions
Step flashing is a series of metal pieces woven between shingle courses along the sides of a chimney. Counter flashing is set into the chimney masonry and overlaps the step flashing from above, keeping water from getting behind it. The two work as one system, and neither waterproofs the joint on its own.
Common signs include ceiling or wall stains near the chimney, damp or darkened wood around the chimney in the attic, and tar or caulk that has cracked or pulled away from the masonry. Because water travels before it shows up, a nearby stain doesn't confirm the source. An inspection does.
A chimney cricket is a small peaked structure built on the uphill side of a chimney. It diverts water, snow, and debris around the sides instead of letting them collect behind the chimney, where ice and standing water wear down the flashing over time.
Not on its own. A skylight leak usually traces to the unit, its flashing, or the underlayment around the opening. Replacing the skylight with a new flashing kit and underlayment corrects that without a full roof replacement, unless an inspection shows the surrounding roof is also near the end of its service life.
Yes. Reusing old flashing under new shingles leaves the oldest materials at the most leak-prone points on the roof. Replacing chimney, skylight, and vent flashing during the roof replacement lets it integrate with the new shingles and underlayment, and it is more cost-efficient when completed simultaneously because it eliminates duplicated labor.